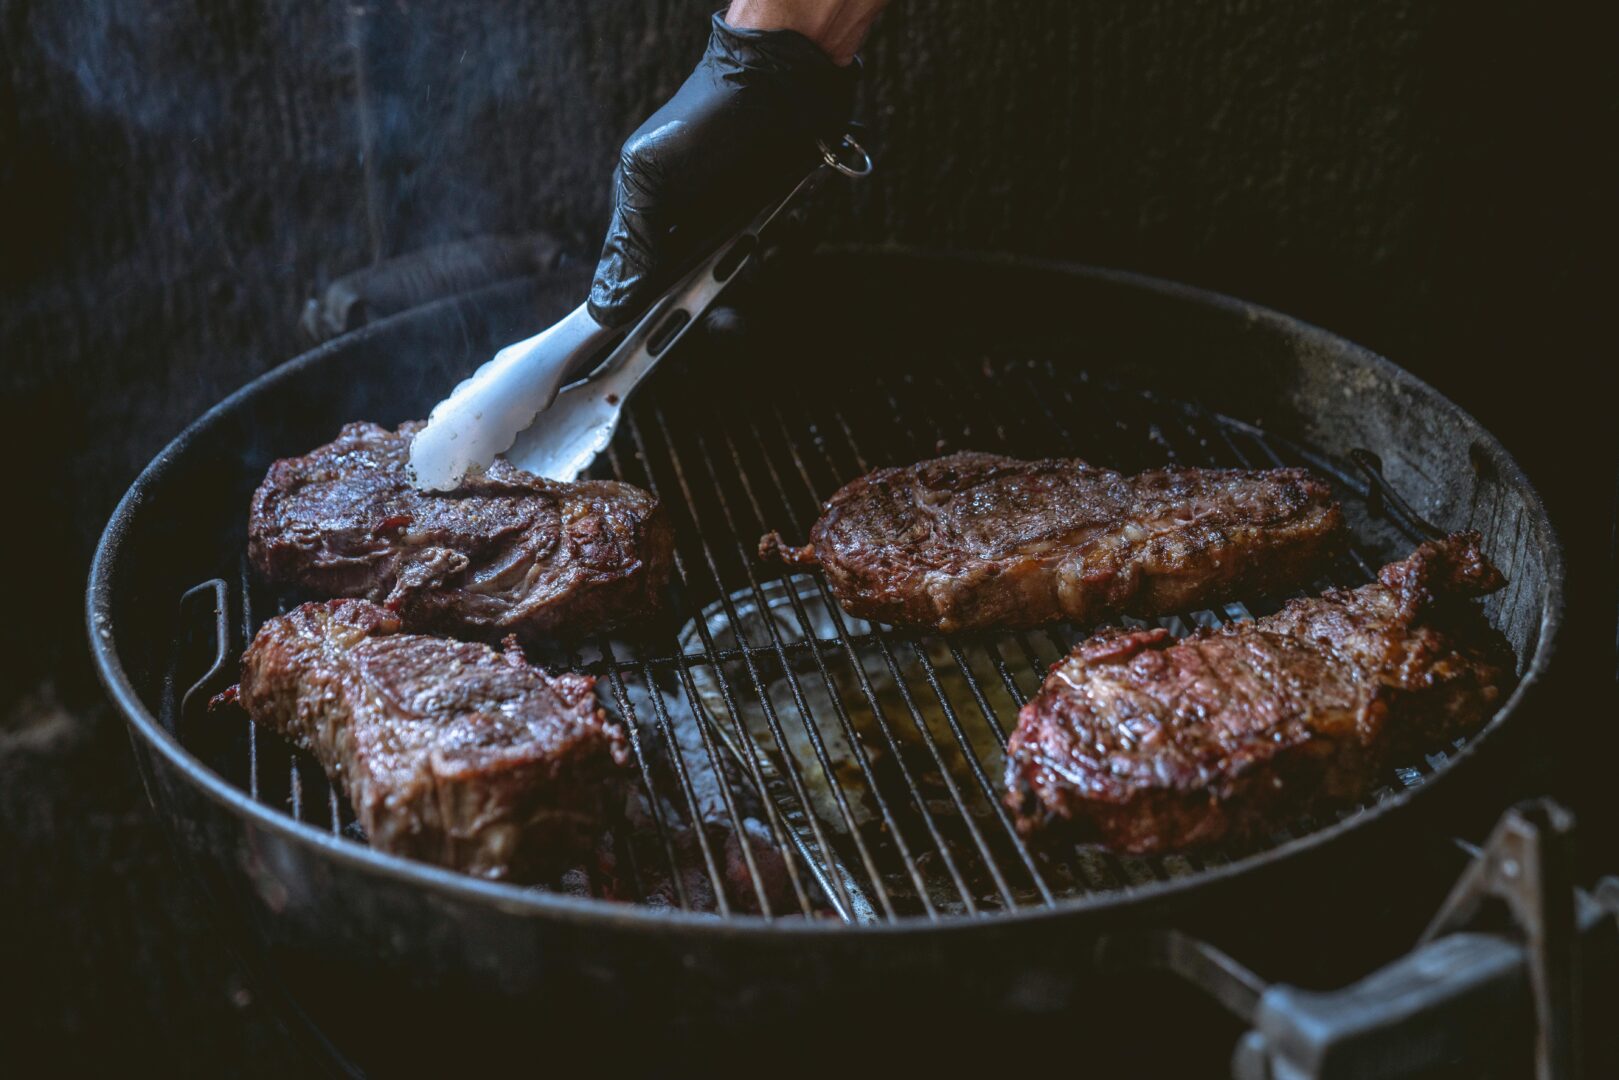
There’s nothing quite like the sizzle of a well-marbled steak on the grill or the smoky aroma that fills the air, signaling the masterpiece that’s about to hit your taste buds. For the true grill aficionado, every BBQ session is a culinary experience, an opportunity to create and share. But here’s the secret ingredient to perfect every grill session – a meticulously clean grill. Think about it. A clean grill isn’t just a matter of aesthetics – it’s the difference between a good meal and a great one.
Yes, we’re about to talk about the ‘C’ word that no one wants to address after the heat dies down – cleaning your BBQ. It’s not the most exciting topic, but it’s a crucial one. We’re going to walk you through the scrubbing process step-by-step, so you can fire up that grill with pride. Prepping your grill is like sharpening your knives; it sets the stage for excellence.
Understand Your Grill
Before you don your apron and start scrubbing, it’s crucial to understand your tool of trade – the grill. If you’re a proud owner of a grilling beast, you know there are different types: gas, charcoal, electric, each with its own personality and consequently, different cleaning needs. Here’s a quick rundown:
- For Gas Grills: Regular burners and metal shields called flavorizer bars require persistent cleaning to avoid flare-ups and uneven cooking.
- Charcoal Grill Wisdom: These classic grills need less frequent cleaning than their gas counterparts, but ash management and grate cleanliness are paramount.
- Simplicity of Electric Grills: The simplest to clean, mainly because they don’t have the same complex structures, yet meticulousness is needed to avoid any electric hazards.
Whatever your grill’s heritage, remember, the cleaner your grill, the better the taste and the safer the cookout.
Getting Ready to Tackle the Grime
They say victory loves preparation, and grill cleaning is no exception. You’ll need to be equipped with the right tools to face the grill gunk head-on.
Safety First
Before anything, safety pre-empts the process. Ensure your grill is entirely cool to the touch before starting any cleanup operation. No one wants to add singed armhair to their grilled chicken.
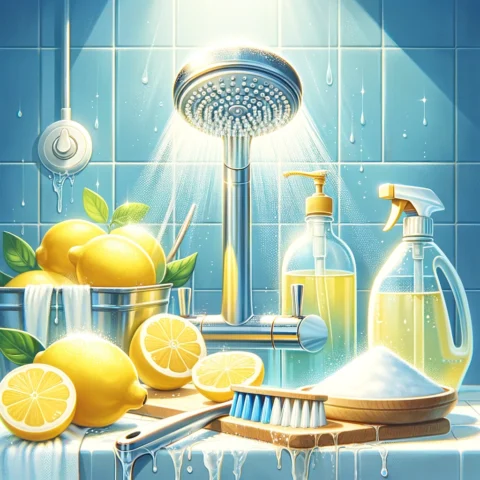
The Cleaning Arsenal
Your cleaning cabinet should house a grill brush, scraper, dish soap, white vinegar, baking soda, and a bit of elbow grease. Each of these has a vital role in reviving your grill’s glory.
The Routine After-Party Cleanup
This isn’t the deep cleaning, but just like washing your dishes after a meal, a quick scrub substantially reduces the effort needed for a full-scale deep clean.
Giving the Grates the Brush
Your grill grates are the first line of defense against culinary chaos. After the cookout, they’re likely decked out in carbon residue, which can spoil your next meal faster than you can say ‘medium-rare’.
- The technique is in the twist – use the grill brush to scrub in a circular motion.
- Pro tip for flavor saving: dip a balled-up sheet of aluminum foil in oil, or use an onion cut in half to oil the grates.
Surface Wipe Down
The interior and exterior surfaces make the grill yours, keeping them clean makes it look like you care.
- For the outside, a simple cloth or sponge with mild soap will do.
- The inside requires more robust cleaning for leftover bits and grease.
Regardless of grill type, a routine clean also serves as an inspection. You can spot early signs of damage or wear that could affect your beloved grill’s performance.
The Deep Grill Clean – A Seasonal Affair
Set aside time, maybe at the start or end of the grilling season, for a deep clean. It’s like spring-cleaning for your grill, and it ensures your equipment is always in top condition.
Disassembly and Detailing
To really get in those hard-to-reach areas, you often have to disassemble parts of your grill. It may seem daunting, but it’s essential.
- Disconnect the gas, remove grates and briquettes.
- Use warm, soapy water or a baking soda paste to clean. These all-natural cleaners are so effective because they contain mild abrasive properties that help lift carbon.
Scrubbing the Grates and Beyond
Now’s the time to confront the grime.
- For the grates, a mix of equal parts vinegar and water, or a strong citrus-based degreaser, can cut through the toughest cooked-on debris.
- Burners need gentle scrubbing, avoiding breaking the small holes where the gas escapes.
Remember to dry all washed parts thoroughly and completely re-assemble your grill before firing it up again.
Seasoning, Not Just for Food
After your grill has been resuscitated, it’s for seasoning. Oiling the grates prevents rust and gives a non-stick surface for your future feasts.
- With a high smoke point oil, such as canola or grapeseed, wipe down the grates with a cloth soaked in the oil.
- Fire up the grill for a high-heat run to ‘bake’ the oil into the grates.
This process not only protects your grates but also imparts that sought-after smoky flavor to your food from the seasoned grill.
Preventative Maintenance Grants You More Grill Time
Now that your grill is spotless, don’t rest on your laurels. Good grill maintenance is continuous.
Keep It Covered
When your grill isn’t in use, invest in a high-quality grill cover. It’s the armor that defends your grill against the elements.
Regular Inspection
Periodically check for gas leaks (for gas grills), inspect the hoses for wear, look for rust inside and out. A little vigilance goes a long way in maintaining the safety and integrity of your grill.
In Conclusion – The Taste of Cleanliness
Grill cleaning is about respect – for your grill and for the food you’re cooking on it. It’s a ritual that, when done right, can lead to a lifetime of delicious meals and good times.
Remember, clean grills make the chef and the guests happy. Now, go invest in your grill’s future—a future filled with succulent steaks and perfectly grilled veggies.